MacOS Terminal Setup - Oh My Zsh & Powerlevel10k
Content
Background
Having a good terminal can boost productivity of a typical software engineer. I am talking about terminals with syntax highlighting of some sorts, autocomplete suggestions from history, inline icons & much more.
If you like to enjoy traditional black & white or the Matrix green fonts terminal then this article is not for you.

Prerequisites
I am writing this specifically for mac users. Any software engineering student who has just started exploring the computer science world or the everyday tech person at office; all are welcome.
I am not assuming that you have installed anything particular on your mac. You are good to start with this article even on a brand new mac.
Installing Homebrew
Homebrew is a package manager like npm for node or pip for python, but this is for OS rather than a programming language. This is quite popular among mac users. You can find more info about homebrew on official website brew.sh.
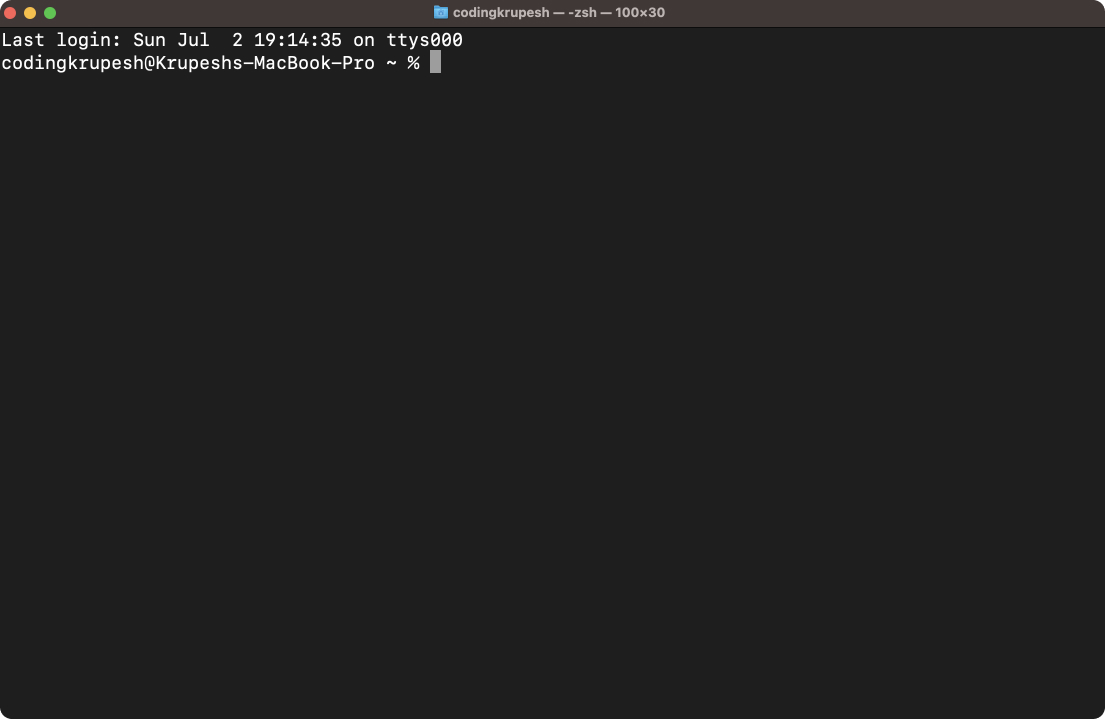
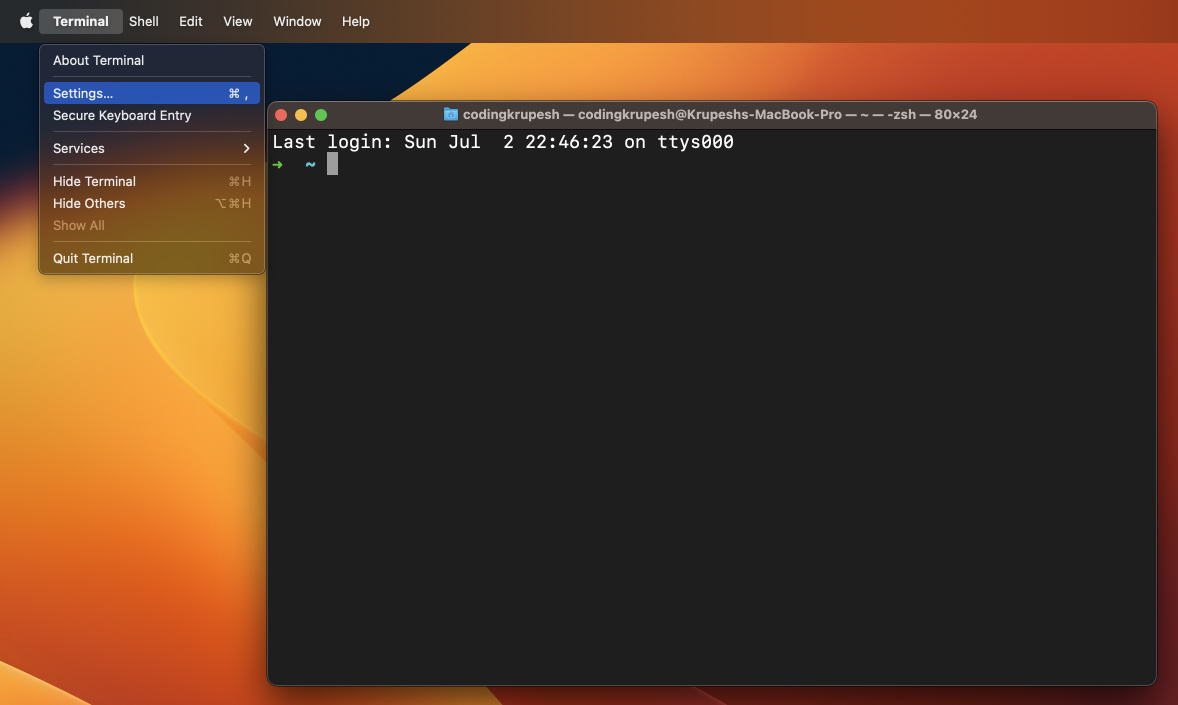
Open Terminal (command + space on keyboard & type Terminal in spotlight, hit enter selecting first application in search results). It should look like below, very basic very simple.
Grab the installation command from below or official site & execute in terminal:
/bin/bash -c "$(curl -fsSL https://raw.githubusercontent.com/Homebrew/install/HEAD/install.sh)"
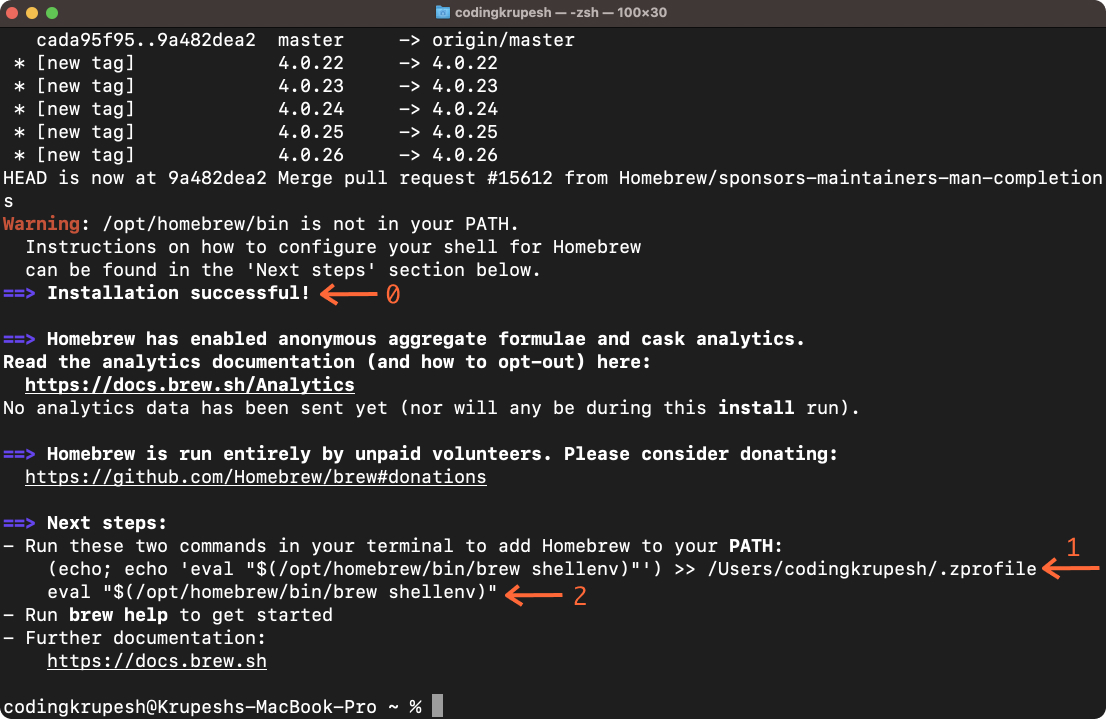
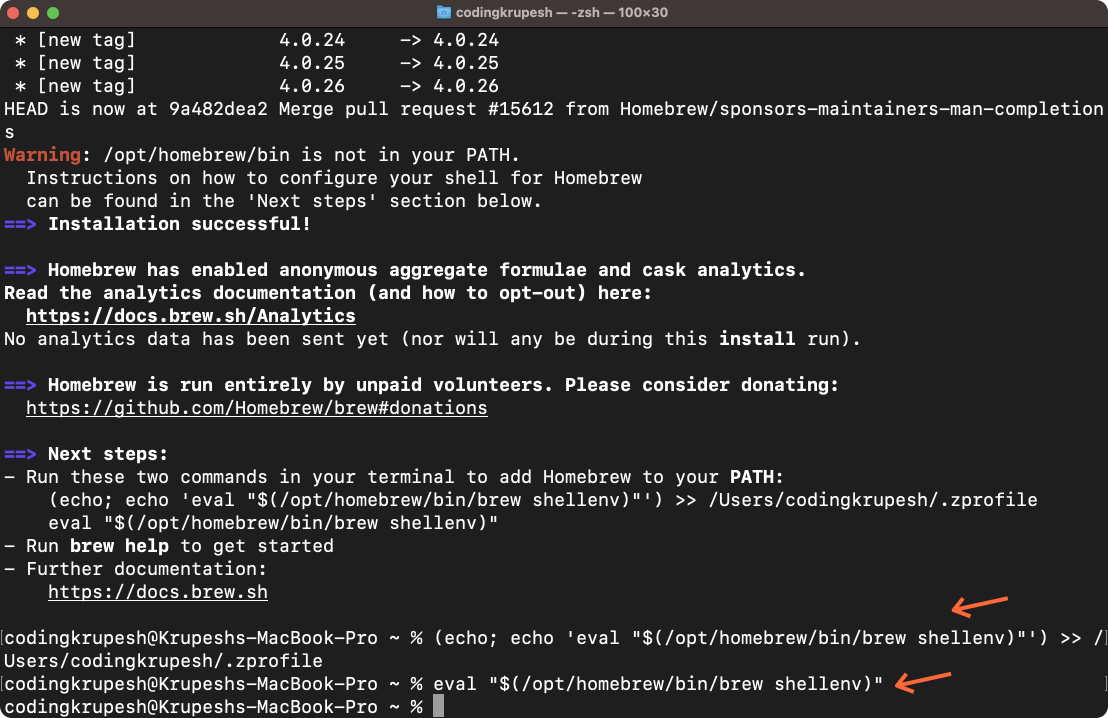
Once done, you should see Installation successful! message (arrow 0). You are not done yet, add Homebrew to the PATH variables so that whenever you type brew ... in your terminal it knows where to look for brew executable within system files. Copy commands from your terminal like I have highlighted in below screenshot (arrow 1 & 2) & run them individually.
That completes Homebrew setup. It makes installation of mac applications & packages effortless as you will see further. Before moving on to next section, we need to install wget. It is a command line utility tool to make network requests for downloading stuff. Although it is optional as our terminal already has curl (which we used to install homebrew 😉) but I would still recommend installing it.
Run following in your terminal:
brew install wget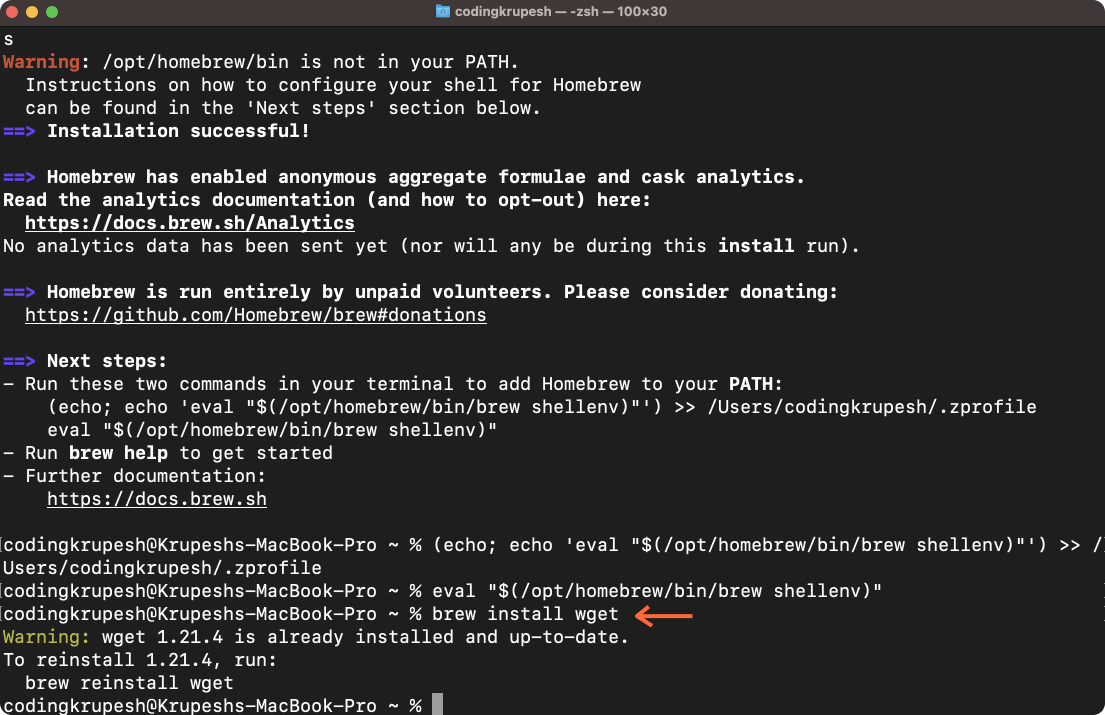
I am on mac os v13 (Ventura) & wget comes preinstalled I guess that is why it is showing already installed in above screenshot.Installing ZSH
ZSH shell is required for installing oh my zsh Before proceeding, restart the terminal, press command + Q on keyboard & if any popup comes then choose Terminate. This should close the terminal, infact this shortcut will close any mac application/window in focus. (I use this all the time)
Unlike Windows or most Linux distros, in mac clicking red close icon on top left of application window does not close it. Application will keep running in background. We can change this behaviour, but I have made peace with using command + Q keyboard shortcut :)Open brand new terminal like before & type zsh --version chances are zsh is already installed & running. If that is the case you should see something like below, feel free to skip to next section.
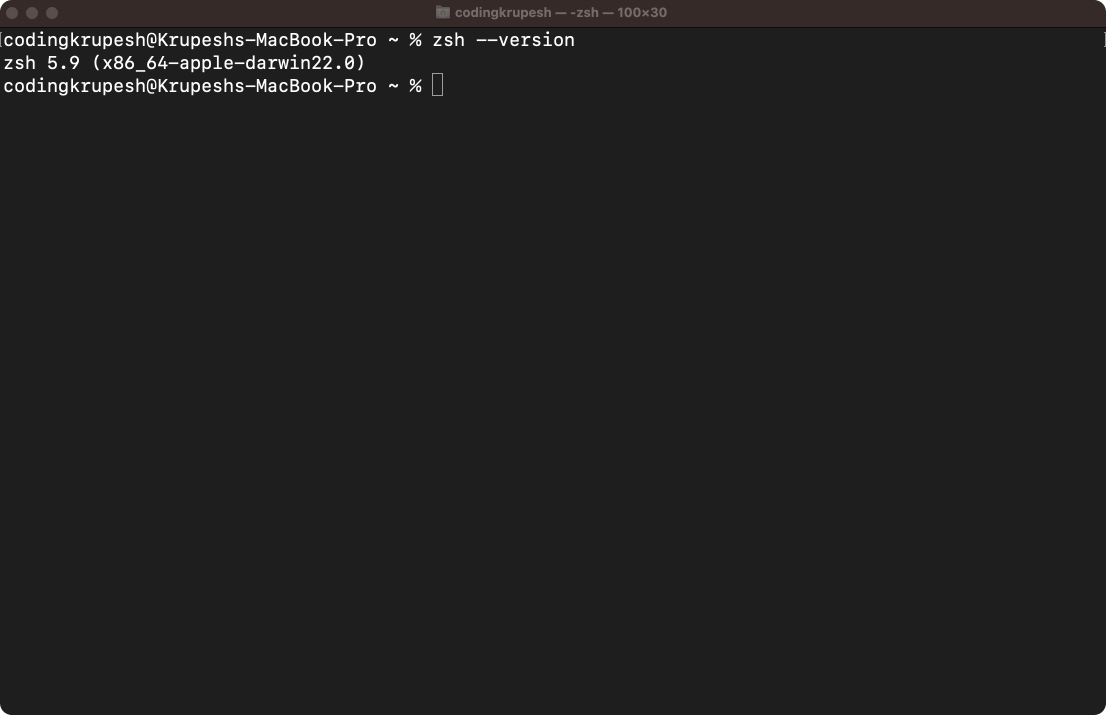
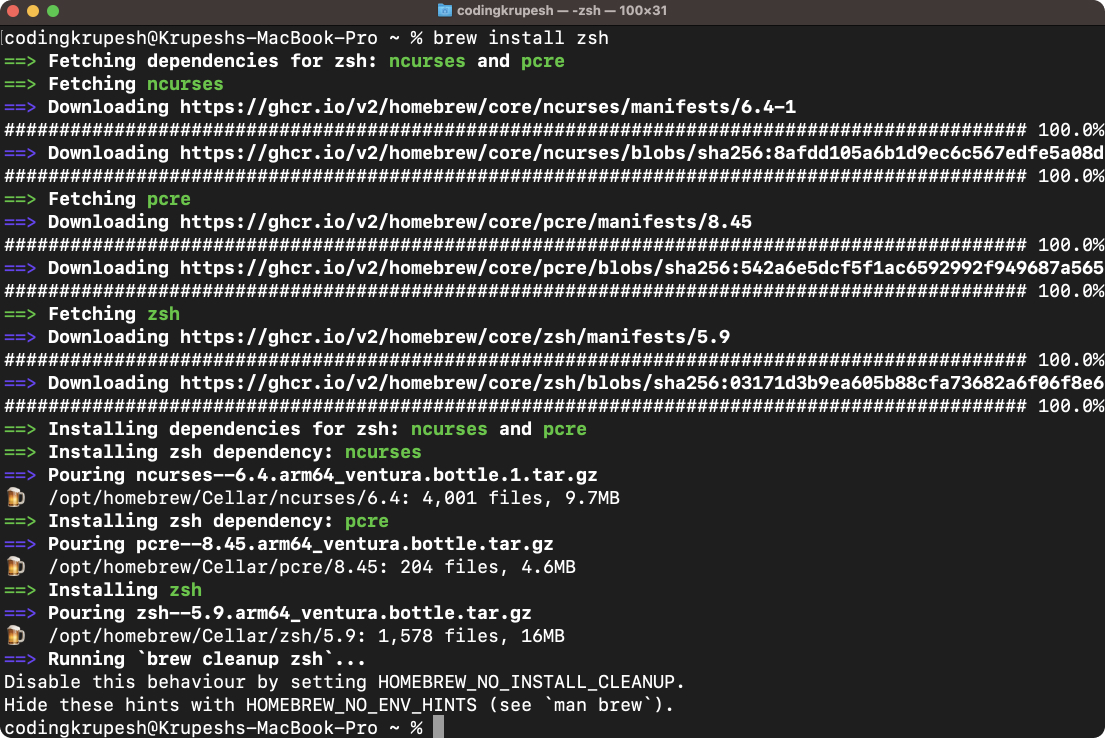
If you don't see zsh version like above, then we need to install it. Oh my zsh github wiki has neatly documented it, feel free to try and follow it on your own. If you are beginner then lets do it together. Run following commands:
brew install zsh
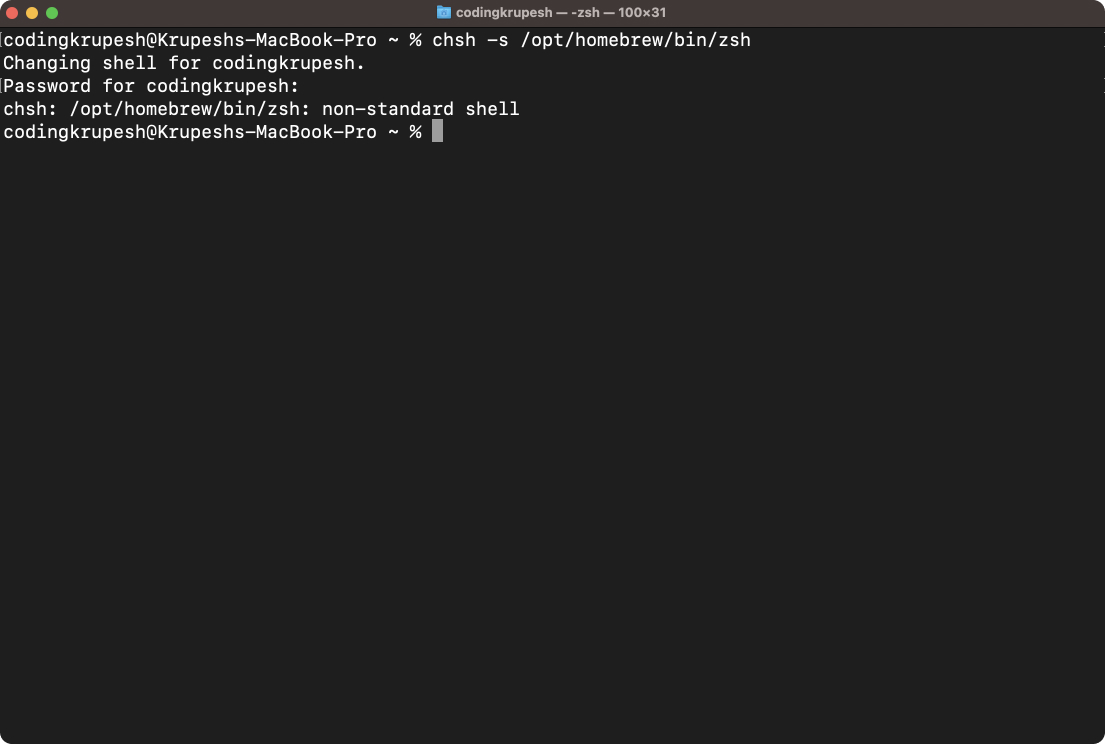
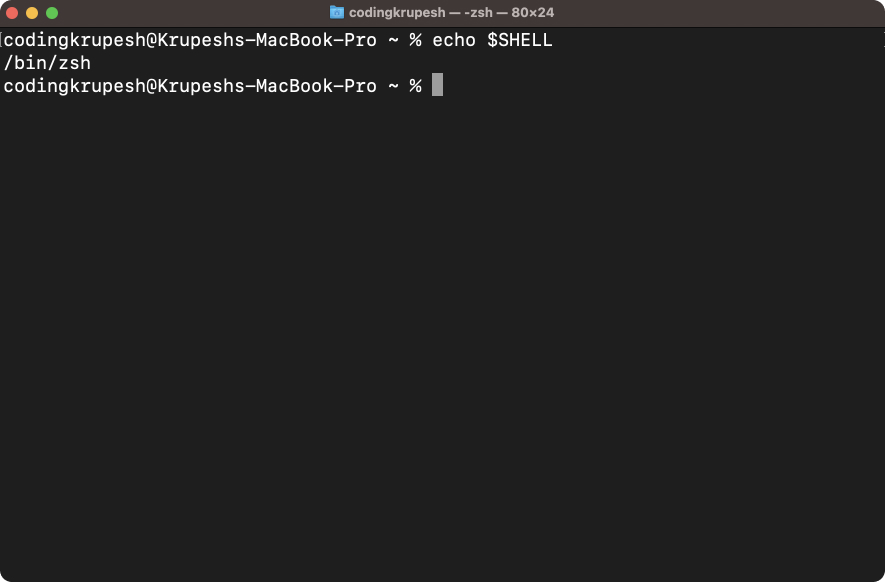
Set zsh as the default shell to run in terminal. For most people who got zsh installed previously, you must be running zsh by default. You can check that by running echo $SHELL , it should print path to zsh in next line. If you donot see it, then run one of the following as per your mac os version & chip.
# Recent macOS versions:
### For m1 macs:
chsh -s /opt/homebrew/bin/zsh

### For intel macs:
chsh -s /usr/local/bin/zsh

# macOS High Sierra and older:
chsh -s /bin/zsh
While running above command it may ask for password, enter your mac user login password.
At this point I would again recommend to close terminal (command + Q) & open it again, run echo $SHELL to confirm you are running zsh shell by default.
Installing Oh My Zsh
From the home page of oh my zsh github repository grab wget command and run it.
sh -c "$(wget -O- https://raw.githubusercontent.com/ohmyzsh/ohmyzsh/master/tools/install.sh)"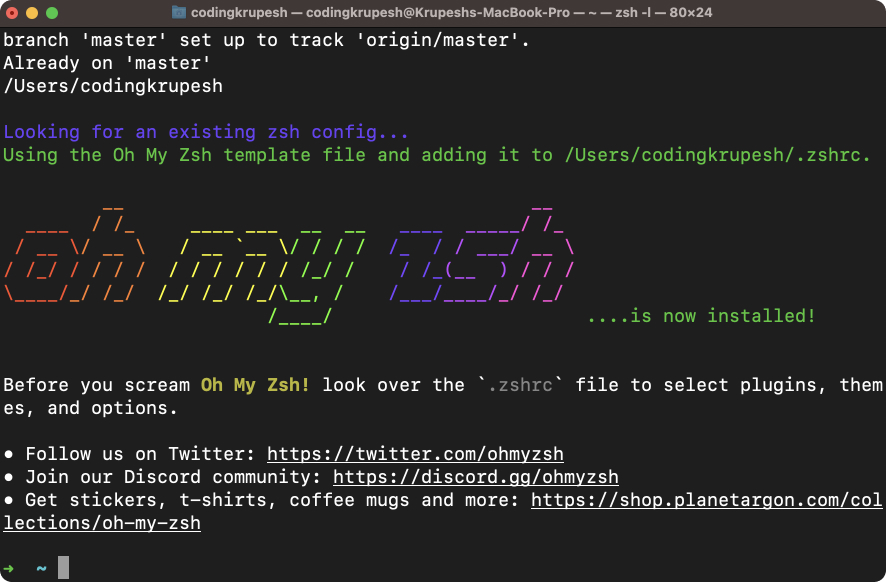
Once installed you should see something like above. Notice the prompt (extreme bottom left in above screenshot) has a green arrow & cyan ~ symbol, thats the default theme of oh my zsh running. Restarting the terminal should also show that.
Oh My Zsh Useful Plugins
Plugins are like those little things that makes your experience smooth, example: there is a plugin called git which adds many aliases to the terminal environment. If you write git checkout -b new-branch for creating new git branch, with plugin installed you just need to write gcb new-branch Similarly, there are various aliases that plugin adds. Checkout full list of available plugins here.
As mentioned in github wiki, avoid adding too many plugins as it can slow down your terminal. I use only git & zsh-autosuggestions. The later one is my fav, there isn't a day I have not thanked for its existence. As you type something in terminal, based on your history it shows autocomplete suggestions, like how Gmail shows when you draft an email. Just press right arrow key & hit return!
To install plugins, do the following:
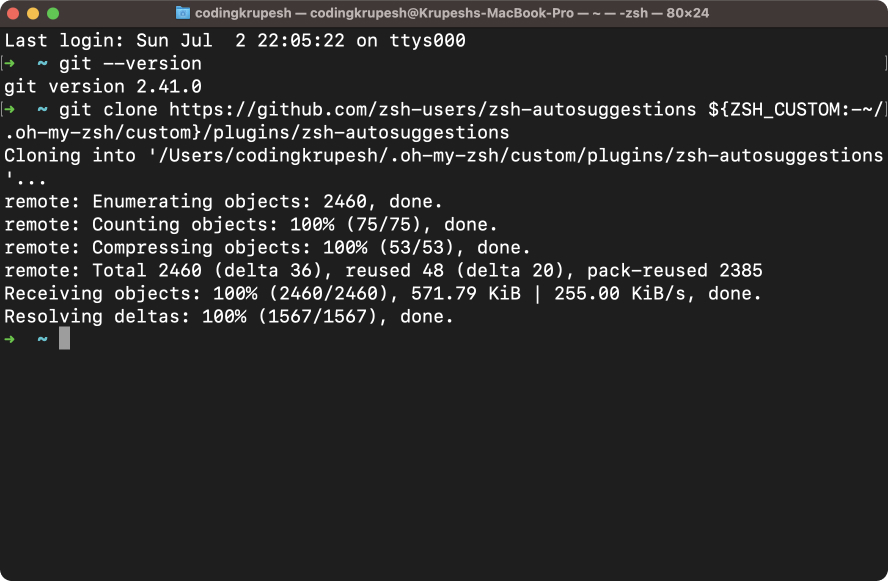
- Restart terminal & check you have git installed,
git --version. If not then runbrew install git - Clone zsh-autosuggestions plugin by running
git clone https://github.com/zsh-users/zsh-autosuggestions ${ZSH_CUSTOM:-~/.oh-my-zsh/custom}/plugins/zsh-autosuggestions - Open
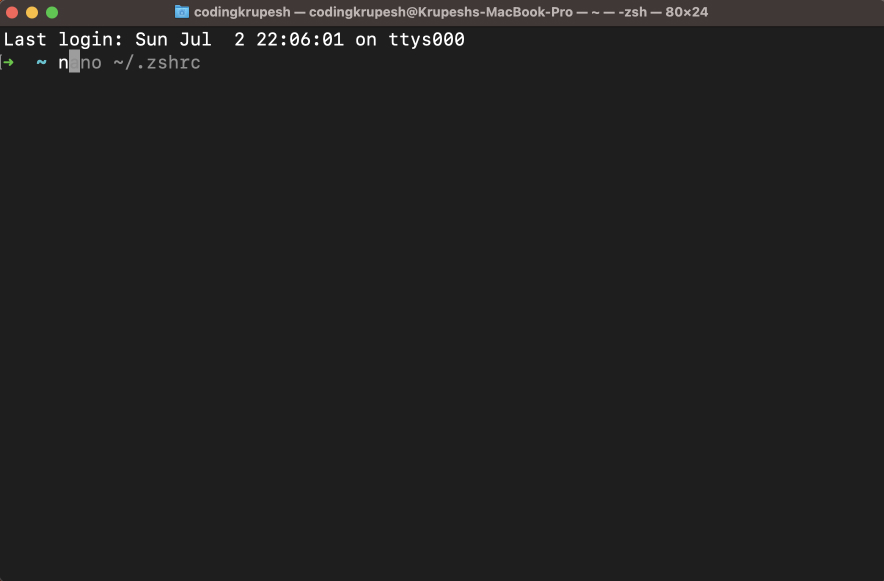
.zshrcfile in terminal with nano editornano ~/.zshrc& go to line where it saysplugins=(git)with down arrow key

Replace it with plugins=(git zsh-autosuggestions) press control + o & return key to save. control + x to exit. Restart terminal & its done. Now whenever you type just a single letter, if in past you have begun with that letter, it will auto suggest the whole command!
Github repository of zsh-autosuggestions has a video demo if you are interested. So far so good! For most people I have met, having terminal customised upto this point is sufficient, after all it is a terminal & not a candy, how fancy will you want it!
But its good to see upto what level things can change & experience that.
Zsh Theme - Powerlevel10k 💣
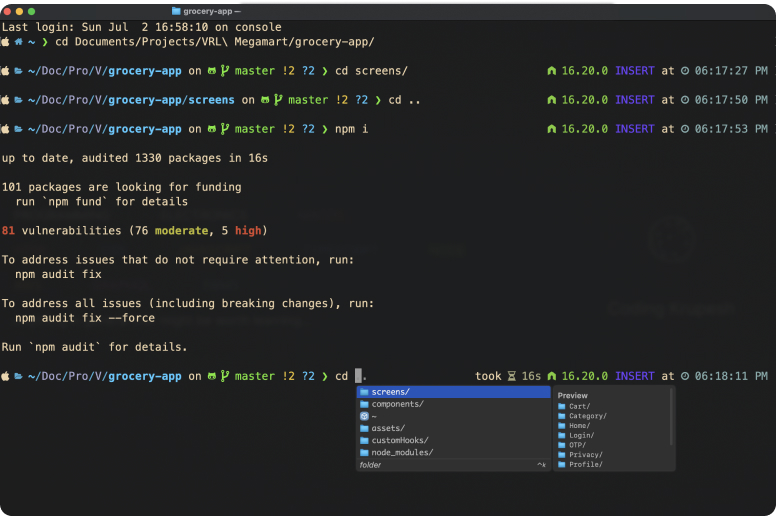
Above screenshot is of terminal open in a react native project which is version controlled using git. You can see all fancy colors, os icon, github icons, branch & files status, node version on right & time of execution of command. All of these comes from powerlevel10k theme. Here is the official github readme showing how to install powerlevel10k.
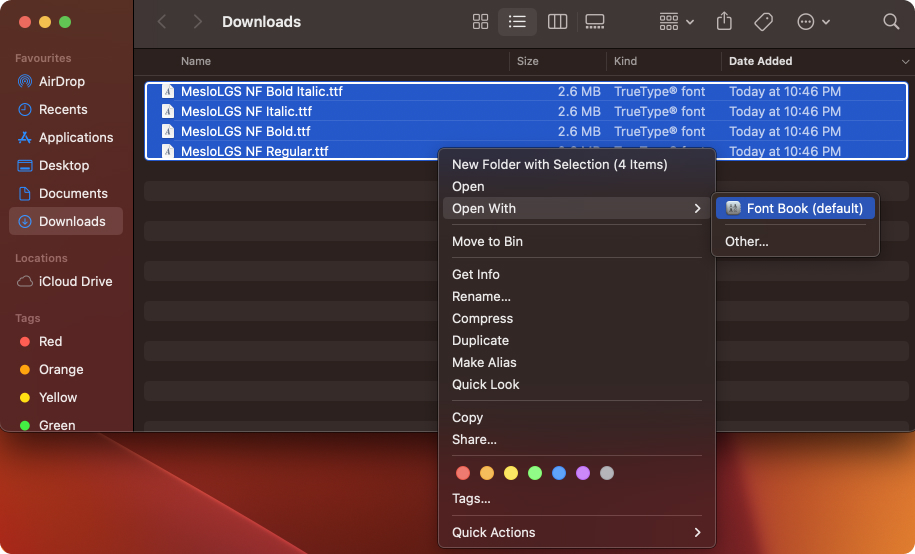
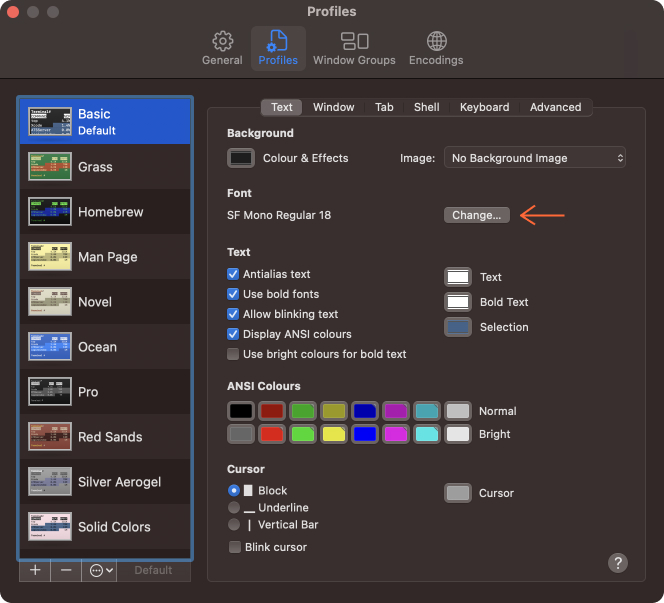
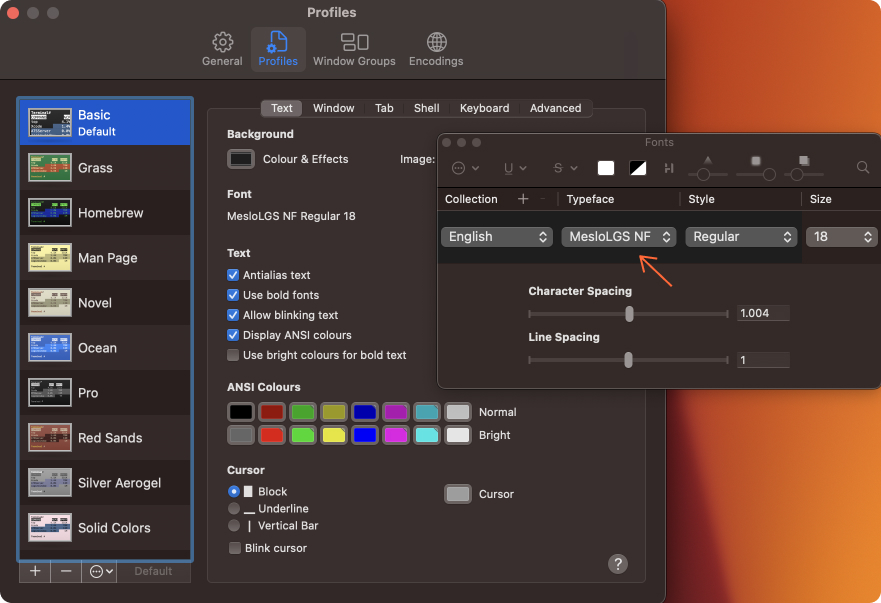
Download font files from here & install them using Font Book. Restart Terminal → Settings → Profiles → Text, click Change under Font and select MesloLGS NF family
If you are new to mac, for almost all applications you will open preferences or settings like this. In case you don't see Terminal at top (menu bar), just select terminal window with mouse then you should see it.
Close Terminal settings & run this to clone powerlevel10k theme:
git clone --depth=1 https://github.com/romkatv/powerlevel10k.git ${ZSH_CUSTOM:-$HOME/.oh-my-zsh/custom}/themes/powerlevel10k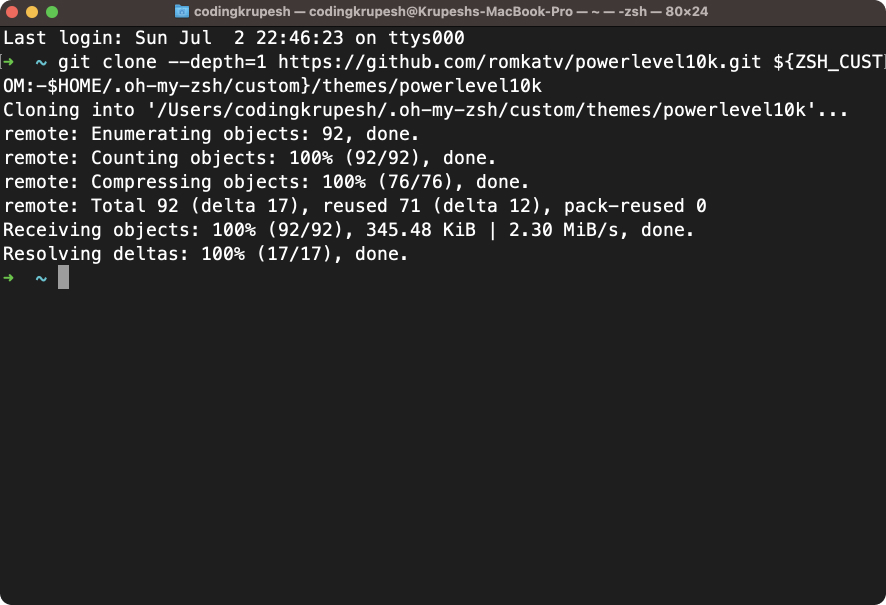
Open .zshrc file nano ~/.zshrc & change ZSH_THEME to powerlevel10k/powerlevel10k like this:
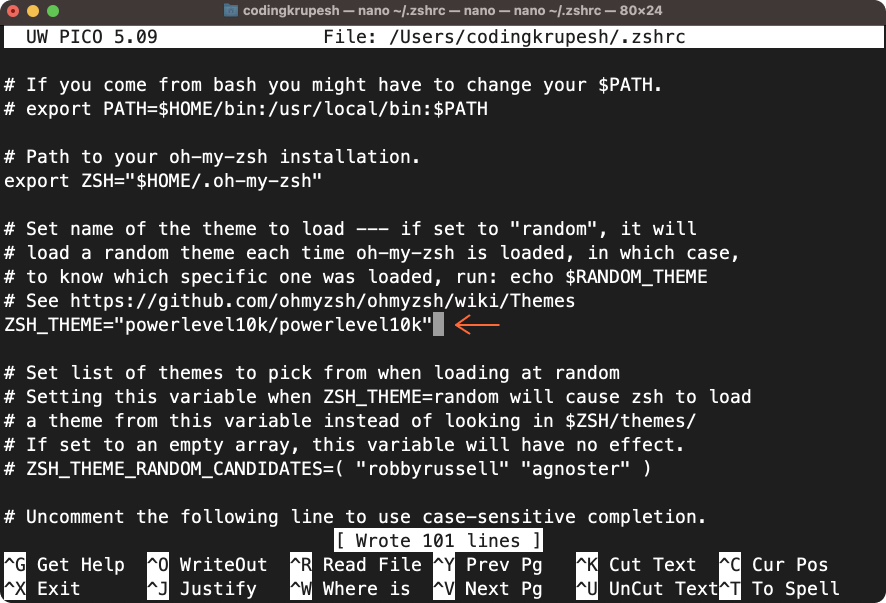
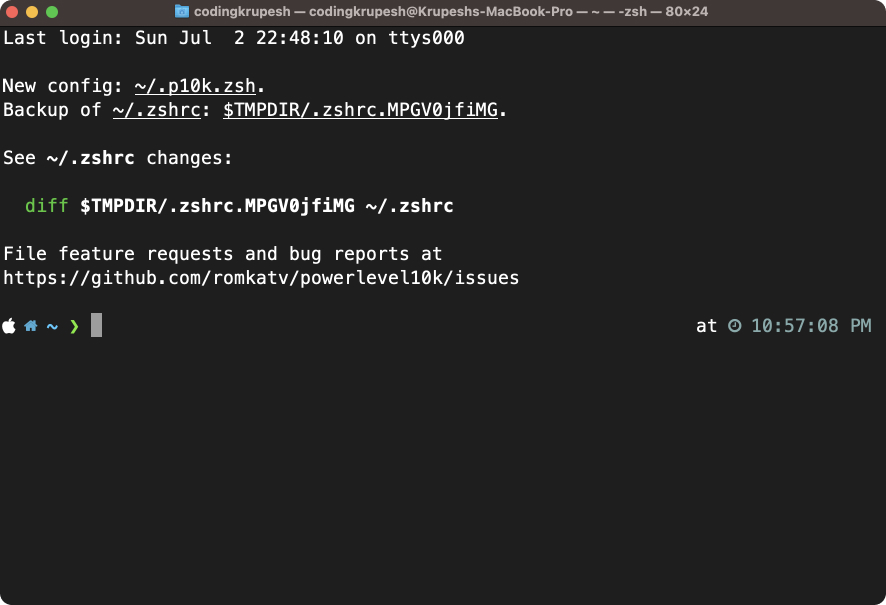
To save file press control + o & return. Then control + x to exit nano editor. Restart terminal, you should see a screen like below:
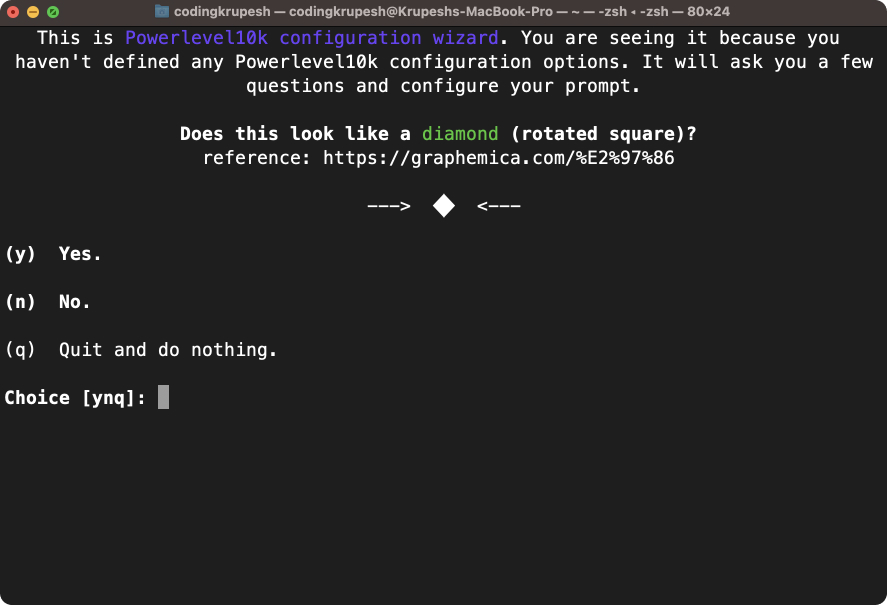
In case you don't see it then run p10k configure. You are able to see the diamond icon in terminal because of the font family MesloLGS NF we installed, infact it is also responsible for rendering all github, node, ruby, etc library icons. Below are the options I chose for the prompts:
Does this look like a diamond (rotated square)?
y

Does this look like a lock?
y

Does this look like an upwards arrow?
y

Do all these icons fit between the crosses?
y

Prompt Style
(1) Lean

Character Set
(1) Unicode

Prompt Colors
(1) 256 colors

Show current time?
(1) 12-hour format.

Prompt Height
(1) One line

Prompt Spacing
(2) Sparse

Icons
(2) Many Icons

Prompt Flow
(2) Fluent

Enable Transient Prompt?
y Yes

Instant Prompt Mode
(1) Verbose

Apply changes to ~/.zshrc?
y
Yeah, they asked too many questions... But thats it! You are good to go, enjoy your super rich & powerful terminal!!
You might find minor things missing if you compare your theme with mine from the very first screenshot of this article 🤐
If you really want to cover those differences & need help - hit me up at instagram or twitter through links at the footer of this blog.
